Creating stunning decor with DIY projects is an art. One popular trend is making giant standing paper flowers. These eye-catching pieces can transform any space. According to expert floral designer Lily Anderson, “With the right materials and a bit of creativity, anyone can learn how to assemble DIY giant standing paper flowers.” Her insights inspire countless DIY enthusiasts.
When considering how to assemble DIY giant standing paper flowers, you might feel overwhelmed. The process can seem daunting, but it's about breaking it down. Choose the right colors and materials that fit your vision. Simple supplies like colored paper, glue, and scissors can go a long way. Each flower has its unique structure, and experimenting helps you refine your technique.
Practice is key. Your first few attempts might not turn out as expected. Learning is a journey, and each flower is a step toward improvement. Embrace those imperfections. They are part of the creative process. With time, you'll develop your own style and make stunning flowers that reflect your personality. Remember, the challenge lies in the journey, not just the outcome.
Creating giant standing paper flowers can be a fun and rewarding project. You need a few specific materials to get started. Gather colored paper, preferably in vibrant shades. Choose sturdy cardstock for added structure. A good pair of scissors is essential for precise cuts. Additionally, you’ll want some tape or glue to secure your flower parts together. Don't forget a ruler for accurate measurements and a pencil for marking.
Other helpful materials include floral wire for stability and green tape to wrap the stems. A hot glue gun can be particularly useful for faster assembly. Consider including a large circular base to keep your flowers standing firm. As you work, you might discover that some flowers are harder to shape than expected. Take your time to adjust and reshape as needed. Mistakes can lead to unique designs and creative solutions, adding a personal touch to your flowers. Embrace the process and be open to experimentation.
Creating giant standing paper flowers can be a delightful DIY project. Cutting paper petals is a crucial step in this process. It requires precision and a little creativity. Start by selecting your paper. Choose vibrant colors for a striking effect. The size of your petals will impact the overall look, so consider a template.
Trace your petal shapes onto the paper. This can be done freehand or with the help of a stencil. Use scissors for clean edges, but a craft knife can provide more intricate cuts. Keep your workspace organized to help avoid mistakes. It’s easy to misalign your designs, so take your time with each cut.
As you cut, reflect on your technique. Are you applying enough pressure? Is your scissors sharp? Small inconsistencies can become noticeable in your final flower. Feel free to experiment with different petal shapes. Each cut is a step towards creating something beautiful. Embrace the journey, and enjoy the process of refinement as you create your stunning flowers.
Creating giant standing paper flowers can be a thrilling project. The assembly techniques play a crucial role in achieving the desired look. Begin by gathering all necessary materials. A variety of colored paper helps create vibrant petals. Take time to choose your colors carefully, as this can impact the flower's overall aesthetic.
When assembling the flower components, start with the petals. Cut them into various shapes and sizes for a dynamic appearance. Remember, it’s okay if your cuts aren't perfect. Each imperfection adds uniqueness to your creation. Use a hot glue gun for secure bonds. It dries quickly, but be careful not to burn yourself.
As you attach the petals, think about layering. Place larger petals at the back and smaller ones in front to create depth. This technique may require some adjustments. Sometimes, the arrangement doesn't look right at first. Don’t hesitate to rework it. Experimenting can be a valuable part of the process. With patience, you'll develop a stunning flower that is both beautiful and captivating.
| Component | Materials Needed | Assembly Technique | Time Required |
|---|---|---|---|
| Petals | Colored paper, Scissors, Glue | Cut petal shapes, curl edges, and glue them in layers. | 1 hour |
| Stem | Green paper, Wire, Tape | Wrap wire with green paper and secure with tape. | 30 minutes |
| Center | Yellow paper, Small balls, Glue | Create a ball from yellow paper and attach to the base. | 20 minutes |
| Assembly | All components, Strong glue | Combine petals, center, and stem securely. | 30 minutes |
Creating realistic giant paper flowers requires attention to detail. Use high-quality paper that mimics the texture of real petals. Soft, flowing edges can enhance authenticity. Consider using a mix of colors to replicate natural variations. When cutting petals, make them different sizes. This will add depth and dimension to your flowers.
Adding details is crucial. Use a paintbrush to apply varying shades to the edges. This technique can bring the petals to life. A little gloss can simulate dew or moisture. You might find that uneven cuts create unique shapes. Embrace these imperfections. They contribute to the natural look of your craft. You can also add veins with a pencil on the petals. This technique enhances realism significantly.
A well-structured assembly is also important. Secure petals tightly to avoid drooping. Try different arrangements before finalizing the design. Involve friends for feedback on aesthetics. Their insights may reveal areas for improvement. Don’t hesitate to try again if the shape isn’t perfect. Experimenting is part of the creative process. Each attempt brings you closer to a beautiful piece.
Giant paper flowers make a stunning addition to any space. Their vibrant colors and large sizes can transform an ordinary room into a lively setting. Displaying these flowers effectively can enhance their visual impact. According to industry reports, around 60% of event planners now prefer large decorative elements like paper flowers to create immersive experiences.
Consider placing your giant flowers in clusters. This approach encourages creativity and invites exploration. You might arrange a few flowers at varying heights on a table or hang them from the ceiling. Such arrangements draw the eye and provide depth. Furthermore, combining different colors and sizes adds visual interest, making your space more inviting.
Lighting can also play a crucial role. Soft uplighting behind your flowers can create enchanting shadows and highlight their intricacies. On the other hand, natural light can enhance the colors during the day. However, be cautious with positioning; too much direct light can wash out the details.
Experimentation might lead to unexpected yet beautiful outcomes. Remember, perfecting your display often requires trial and error. Embrace imperfections; they can spark new ideas!
: Gather a variety of colored paper and a hot glue gun for assembly.
Cut petals into various shapes and sizes for a dynamic appearance. Imperfections are acceptable.
Use a hot glue gun for secure bonds, but be careful not to burn yourself.
Place larger petals at the back and smaller ones in front to create depth. Adjust as needed.
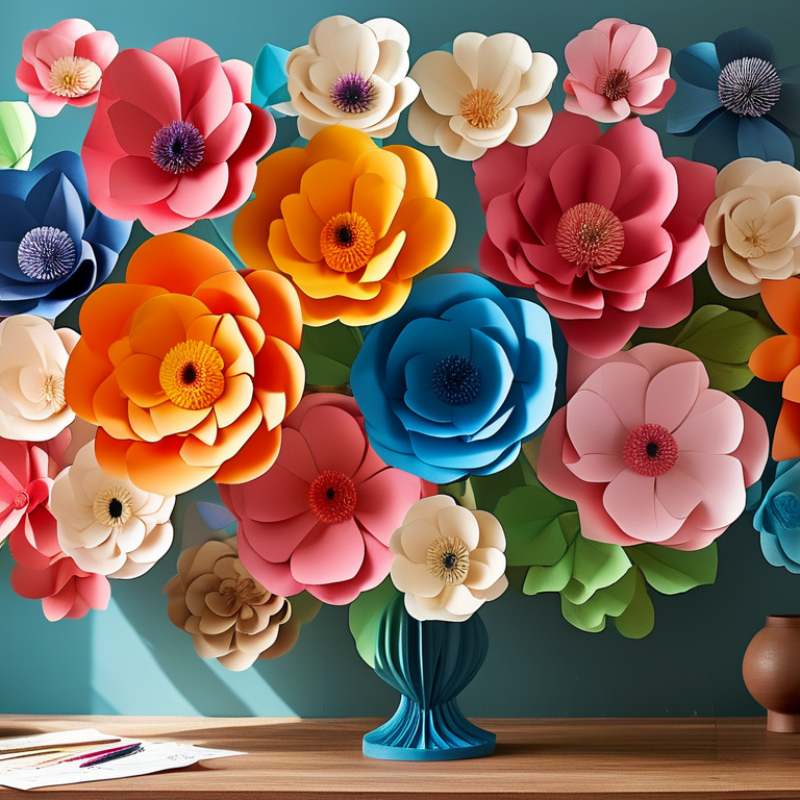
Arrange them in clusters at different heights, or hang them from the ceiling.
Soft uplighting creates shadows, while natural light enhances colors. Avoid too much direct light.
Don’t hesitate to rework it. Experimenting can lead to valuable, creative solutions.
Combine different colors and sizes of flowers for visual interest and depth.
Yes, each imperfection adds a unique touch to your creation. Embrace them.
Practice patience, and don't shy away from trial and error. Learning comes through experience.
The article "How to Assemble DIY Giant Standing Paper Flowers Easily?" provides a comprehensive guide for crafting stunning oversized floral decorations. It begins by outlining the essential materials needed for this creative project, including different types of colored paper and tools. Following this, the article presents detailed step-by-step instructions for cutting paper petals, ensuring that even beginners can achieve beautiful results.
In addition to cutting, the article covers techniques for assembling the various flower components, emphasizing how to create a sturdy structure. To enhance realism, readers are given tips for adding intricate details, such as texture and shading. Finally, the article offers inspiring ideas for displaying the giant paper flowers, making them perfect for events or home decor. Overall, this guide serves as a valuable resource for anyone exploring the question of how to assemble DIY giant standing paper flowers effectively.
Arden Decor